This post will show you how to utilize Control Panel or PowerShell to delete a storage pool at any moment if you use Storage Spaces.
The Storage Spaces feature in Windows 10 has been around for a while and allows you to create spaces (volumes) to store data while protecting your data from hardware failure by pooling two or more drives.
Windows 10 offers at least two methods for deleting a pool that eliminates the spaces and any data on them if you have already made one and no longer require it.
This tutorial will show you how to remove a storage pool from Windows 10’s Storage Spaces.
-
Delete Storage Spaces pool on Windows 10
-
Delete Storage Spaces pool from PowerShell
Delete Storage Spaces pool on Windows 10
Use these procedures to remove a storage pool from the Windows 10 Control Panel:
Launch the Control Panel.
Select “System and Security.”
Select the choice for Storage Spaces.

Click the option labeled “Change settings.”

To delete the storage pool, select it and expand it.
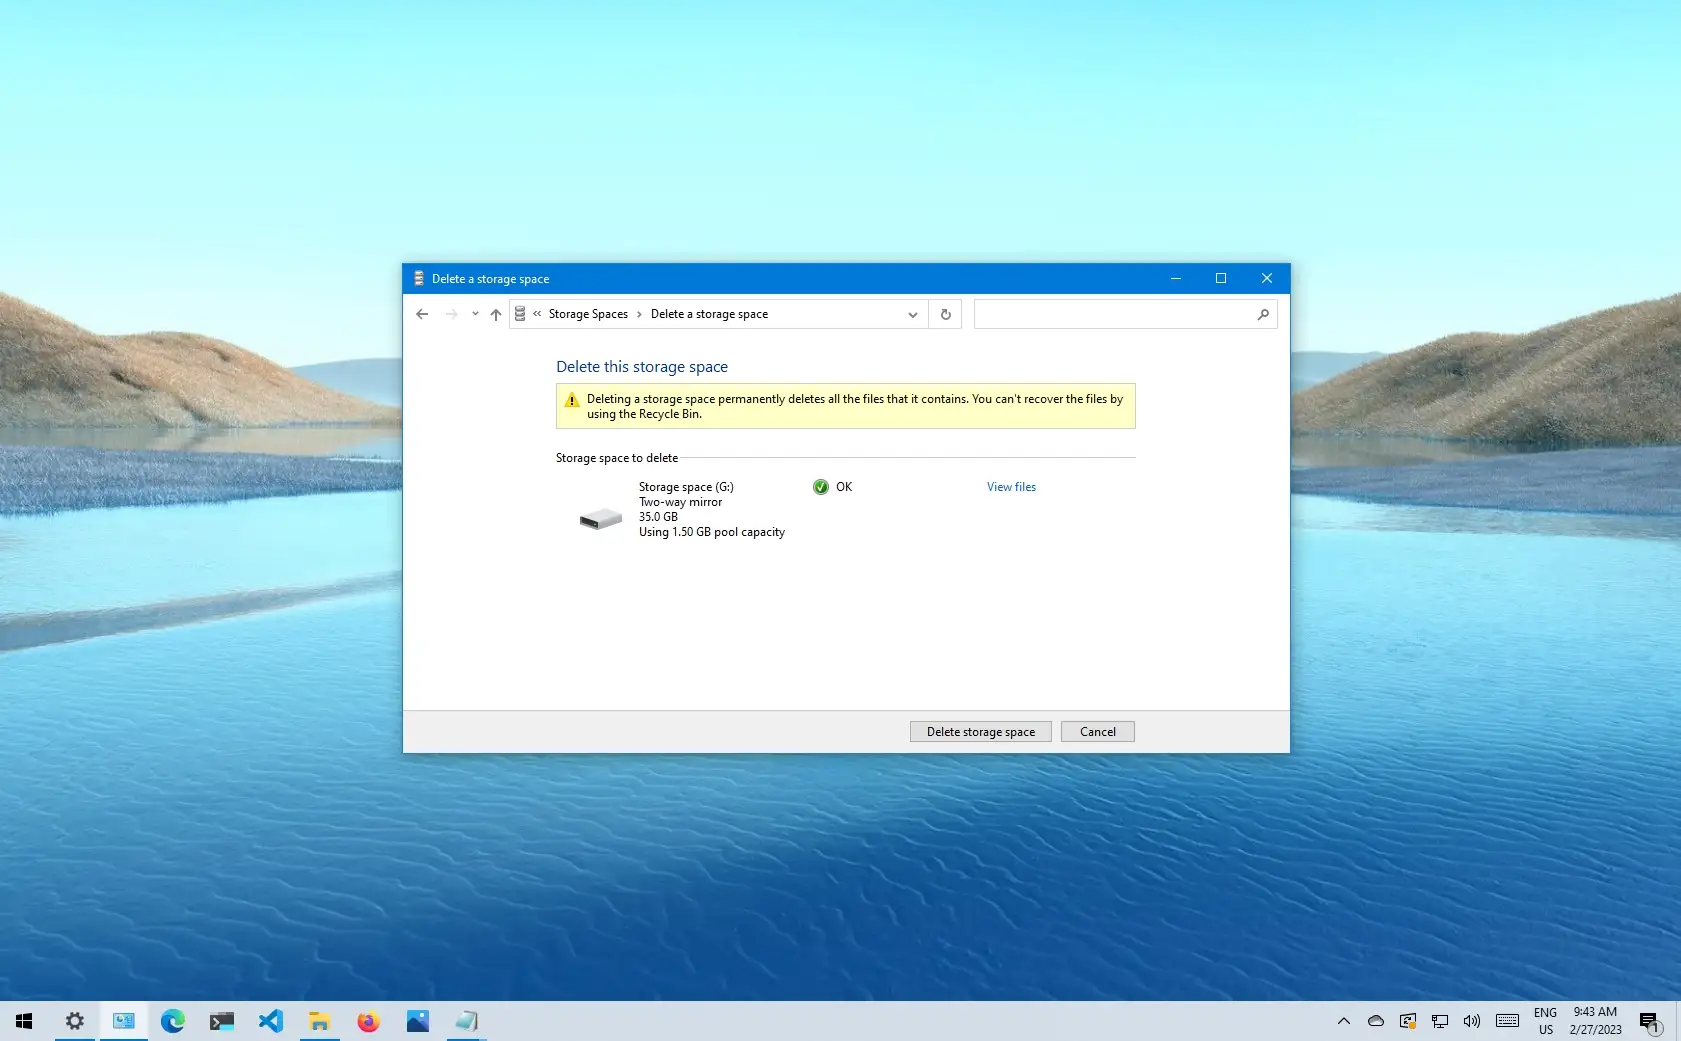
To eliminate the space, click the Delete option under the Storage spaces section.

To delete storage space, click the button.

To eliminate any leftover space, repeat steps 6 and 7.
Select the “Delete Pool” option.

To confirm, click the “Delete pool” button.

After you finish the procedures, the disks will be taken out of the pool, the storage space will be erased along with the data, and the pool will no longer be accessible on the device.
Delete Storage Spaces pool from PowerShell
Use these procedures to remove a storage pool from PowerShell:
LaunchStart.
Look up “PowerShell,” then right-click on the first result and choose “Run as administrator.”
To see the storage pools that are accessible in Windows 10, use the following command and hit Enter:
To see the virtual disk in the storage pool, type the following command and hit Enter:
Enter the name of your pool as Storage pool in the command.

To remote the virtual disk from the pool, type the following command and hit Enter:
Enter the name of your space in place of Storage space in the command.
To continue, press Y and enter.
To remove the storage pool using PowerShell, use the following command and hit Enter:

To continue, press Y and enter.
Once the procedures are finished, Windows 10 will no longer support the storage pool.