On Windows 10,
“Previous Versions”
is a feature that allows you to recover lost or deleted files using File Explorer.
Previous Versions are copies of files and folders the system saves automatically as part of a shadow copy, which means that you have to configure a restore point or File History. Or you have to use a combination of Task Scheduler and commands to create shadow copies at different intervals automatically.
This
guide
will teach you the ways to enable Previous Versions to undelete and restore previous revisions of files stored on your device running
Windows 10
.
-
Enable Previous Versions from File History
-
Enable Previous Versions from Restore Point
-
Enable Previous Versions from Shadow copies
-
Restore previous versions of files on Windows 10
Enable Previous Versions from File History
To configure File History to enable Previous Versions, connect an external drive to your computer, and use these steps:
Open
Settings
on Windows 10.
Click on
Update & Security
.
Click on
Backup
.
Click the
“Add a drive”
button.
Select the drive to use as the backup drive.

Once you complete the steps, every backup revision of File History will become available to restore files using Previous Versions in File Explorer.
File History has more options and settings that you can configure.
Check out this guide
to learn more about them.
Enable Previous Versions from Restore Point
To enable System Restore to recover lost or deleted files with previous versions on Windows 10, use these steps:
Open
Start
.
Search for
Create a restore point
and click the top result to open the System Protection settings.
Select the drive with files to restore previous versions.
Click the
Configure
button.

Select the
“Turn on system protection”
option.

Click the
Apply
button.
Click the
OK
button.
Click the
Create
button.
Specify a description for the restore point. For example,
Restore Point “date” and “time.”
Click the
Create
button.
Click the
Close
button.
Click the
OK
button.
After you complete the steps, you can use the snapshot to restore previous versions of files on your device every time a new restore point is created. However, unless you create new restore points manually, the number of snapshots for recovery will be limited.
Enable Previous Versions from Shadow copies
Alternatively, you can also use the
“Volume Shadow Copy”
feature with Task Scheduler to create snapshots of the data on the drive to recover files using Previous Versions.
To configure Volume Shadow Copy to enable Previous Versions on Windows 10, use these steps:
Open
Start
.
Right-click the
Task Scheduler Library
folder and select the
New Folder
option.

Type any name for the folder (for example, MyTasks) and click the
OK
button. (We are creating a new folder to keep tasks organized and separated from the system tasks.)
Right-click the recently created folder and select the
Create Task
option.

Confirm a name for the task in the “Name” box.
Under the “General” tab, under the “Security options” section, select the
“Run whether user is logged on or not”
option under the “Security options” section. (This option will make the command window not appear when the task runs automatically.)

Clear the
“Do not store password”
option.
Click on the “Triggers” tab.
Click the
New
button.

Select the
“On a schedule”
option in the “Begin the task” drop-down menu.
Under the “Settings” section, select when to run the task, such as
“Daily.”
(Whatever option you select, specify the
“Start”
settings on the right side.)

Click the
OK
button.
Click the “Actions” tab and click the
New
Button.
Select the “
Start a program”
option from the “Actions” drop-down menu.
Type the following command in the “Program/script” box:
Type the following command in the “Add arguments” box:

Click the
OK
button.
Click the “Settings” tab.
Check the following options:
- Allow task to be run on demand.
- Run task as soon as possible after a scheduled start is missed.
- If the task fails, restart every.

Confirm your administrative username and password (if applicable).
Click the
OK
button.
Once you complete the steps, the command will run on the schedule to create volume shadow copies, which you can then use to restore files using Previous Versions.
Restore previous versions of files on Windows 10
To restore previous versions of files on Windows 10, use these steps:
Open
File Explorer
.
Right-click the parent folder with the file to restore and select the
Properties
option.

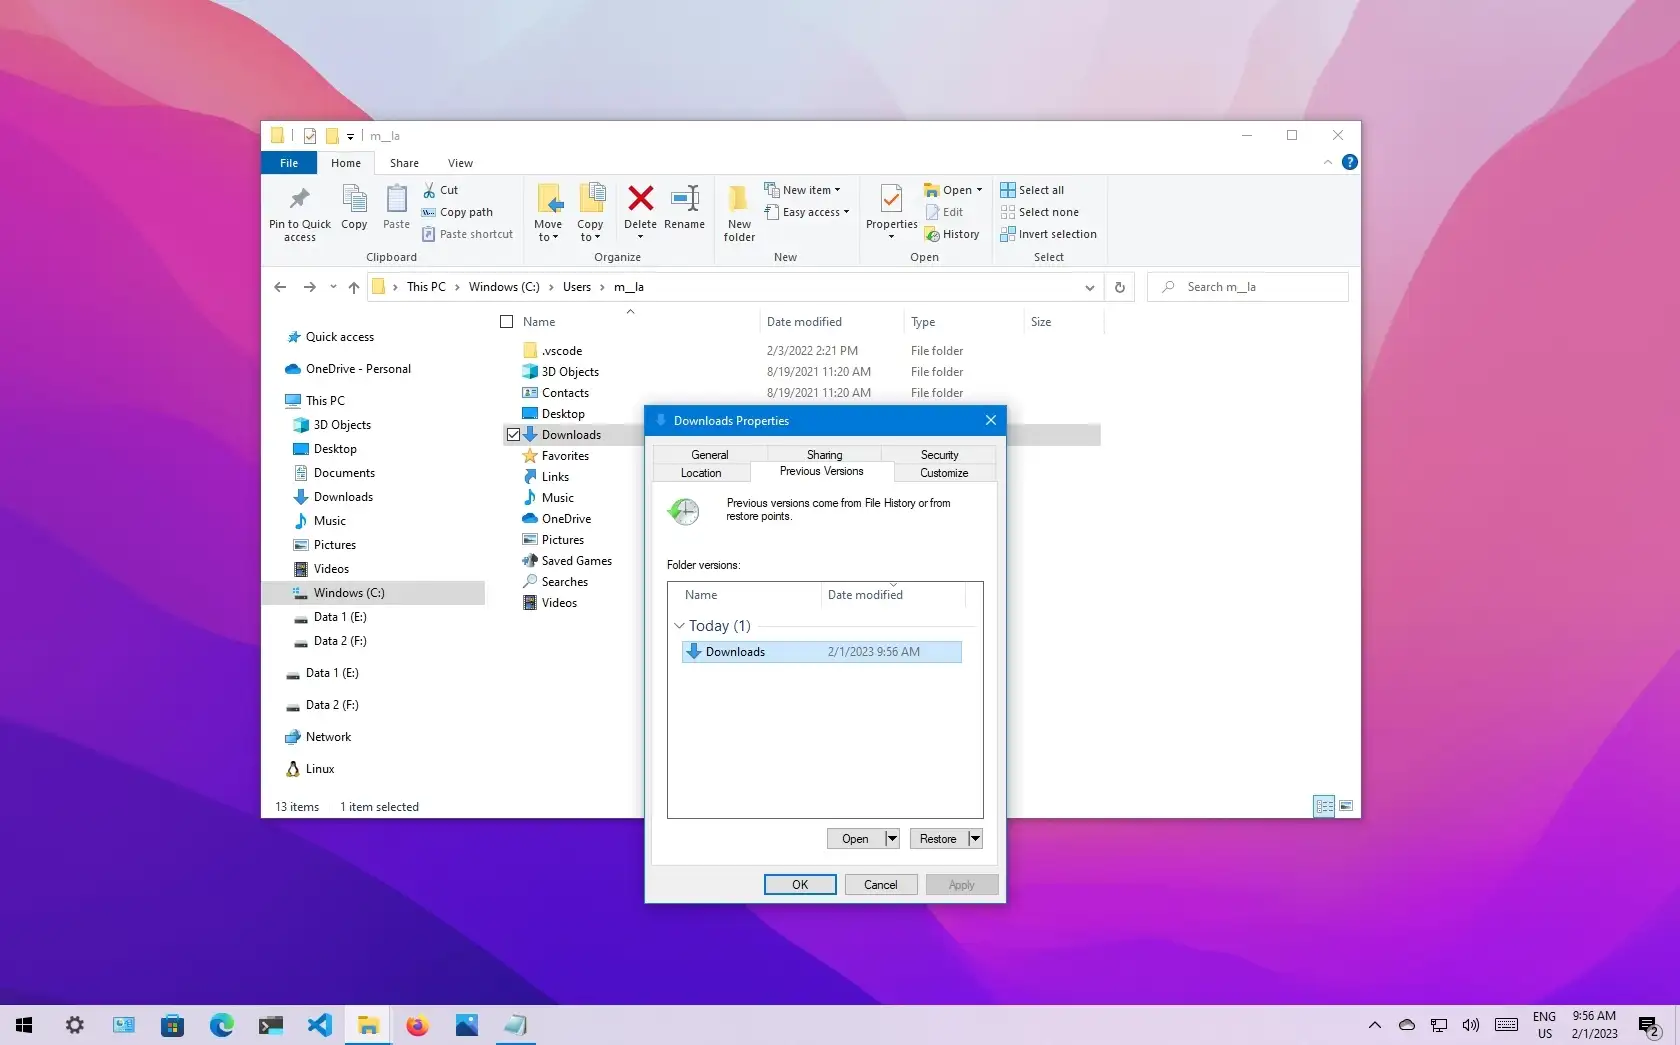
Click the
Previous Version
s tab.
Under the “File versions” section, you will find a list of the different times when a shadow copy was created that allows you to recover a file (or folder).
Select the content.
Click the
arrow
button next to the
Restore
button.

Select the
Restore To
option.
Select the location to restore the file (or folder).
Click the
Select folder
button to restore the files.
After you complete the steps, you’ll have restored a lost or deleted file or folder.