This post will teach you how to recover files from File Explorer using Windows 11’s Previous Versions functionality.
Every time a shadow copy is made, either manually or automatically, as occurs every time a restore point or a File History copy is created, the Previous Versions function makes copies of the files (and folders).
By configuring File History, System Restore, or Shadow copies, you can activate the ability to recover lost or inadvertently erased files.
This tutorial will show you how to enable Previous Versions so that you can restore and undelete files from earlier iterations on your Windows 11 computer.
-
Enable Previous Versions from File History
-
Enable Previous Versions from Restore Point
-
Enable Previous Versions from Shadow copies
-
Recover previous versions of files on Windows 11
Enable Previous Versions from File History
Connect an external drive to the computer, then follow these instructions to enable Previous Versions from File History in Windows 11:
Launch Windows 11.
To launch the application, select the top result from the SearchControl Panel.
Select “System and Security.”
Select “File History.”

If the backup drive is already listed, click the Turn on button.

Every backup revision that File History creates on Windows 11 will be accessible for file restoration using Previous Versions in File Explorer after you finish the instructions.
Enable Previous Versions from System Restore
Follow these instructions to allow System Restore to recover files on Windows 11:
Open the settings.
Select “System.”
Click the “System protection” option under “Device specifications.”

Click the Configure button after choosing the system drive (C) under the Protection Settings section.

Choose the option to activate system protection.

Press the “Apply” button.
Press the “OK” button.
To create, click the button.
Give the restore point a description. For instance, the date and time of the restore point.
To create, click the button.
Press the “Close” button.
Press the “OK” button.
Once the procedures are finished, you can restore earlier file versions using the restore points. However, your computer will only have so many prior versions unless you actively make additional restore points.
Enable Previous Versions from Shadow copies
To recover files, you can also use Task Scheduler’s Volume Shadow Copy tool to make copies of the drive’s contents.
Follow these steps to set up Volume Shadow Copy in Windows 11 so that Previous Versions are enabled:
LaunchStart.
Choose the New Folder option when you right-click the Task Scheduler Library folder.
Click OK after entering any name for the folder, such as MyTasks.
Choose the “Create Task” option when you right-click the newly formed folder.

In the Name box, confirm the task’s name.
Choose the “Run whether user is logged on or not” option from the Security options section under the General tab.

Turn off the “Don’t store password” setting.
Select the tab for Triggers.
Press the “New” button.
In the Begin the task drop-down menu, pick the “On a schedule” option.
Choose the task’s execution time, such as daily, under the Settings section.(Specify the Startsettings on the right side, regardless of the option you choose.)

Press the “OK” button.
Click the NewButton after selecting the Actions tab.
From the Actions drop-down menu, choose the Start a program option.
Open the Program/script box and type the following command:
In the “Add arguments” box, type this command:

Press the “OK” button.
On the Settings tab, click.
Verify the “Allow task to run on demand” option.After a scheduled start is missed, run the job as soon as you can. If it doesn’t work, restart all the options.
Verify your admin password and username, if any.
Press the “OK” button.
Following the instructions, a job will be scheduled to make volume shadow copies, which you can use to restore files using Windows 11 versions prior to this one.
Recover previous versions of files on Windows 11
Use these procedures to restore earlier iterations of a file on Windows 11:
OpenFile Explorer.
To restore the file, right-click on its parent folder and choose the Properties option.

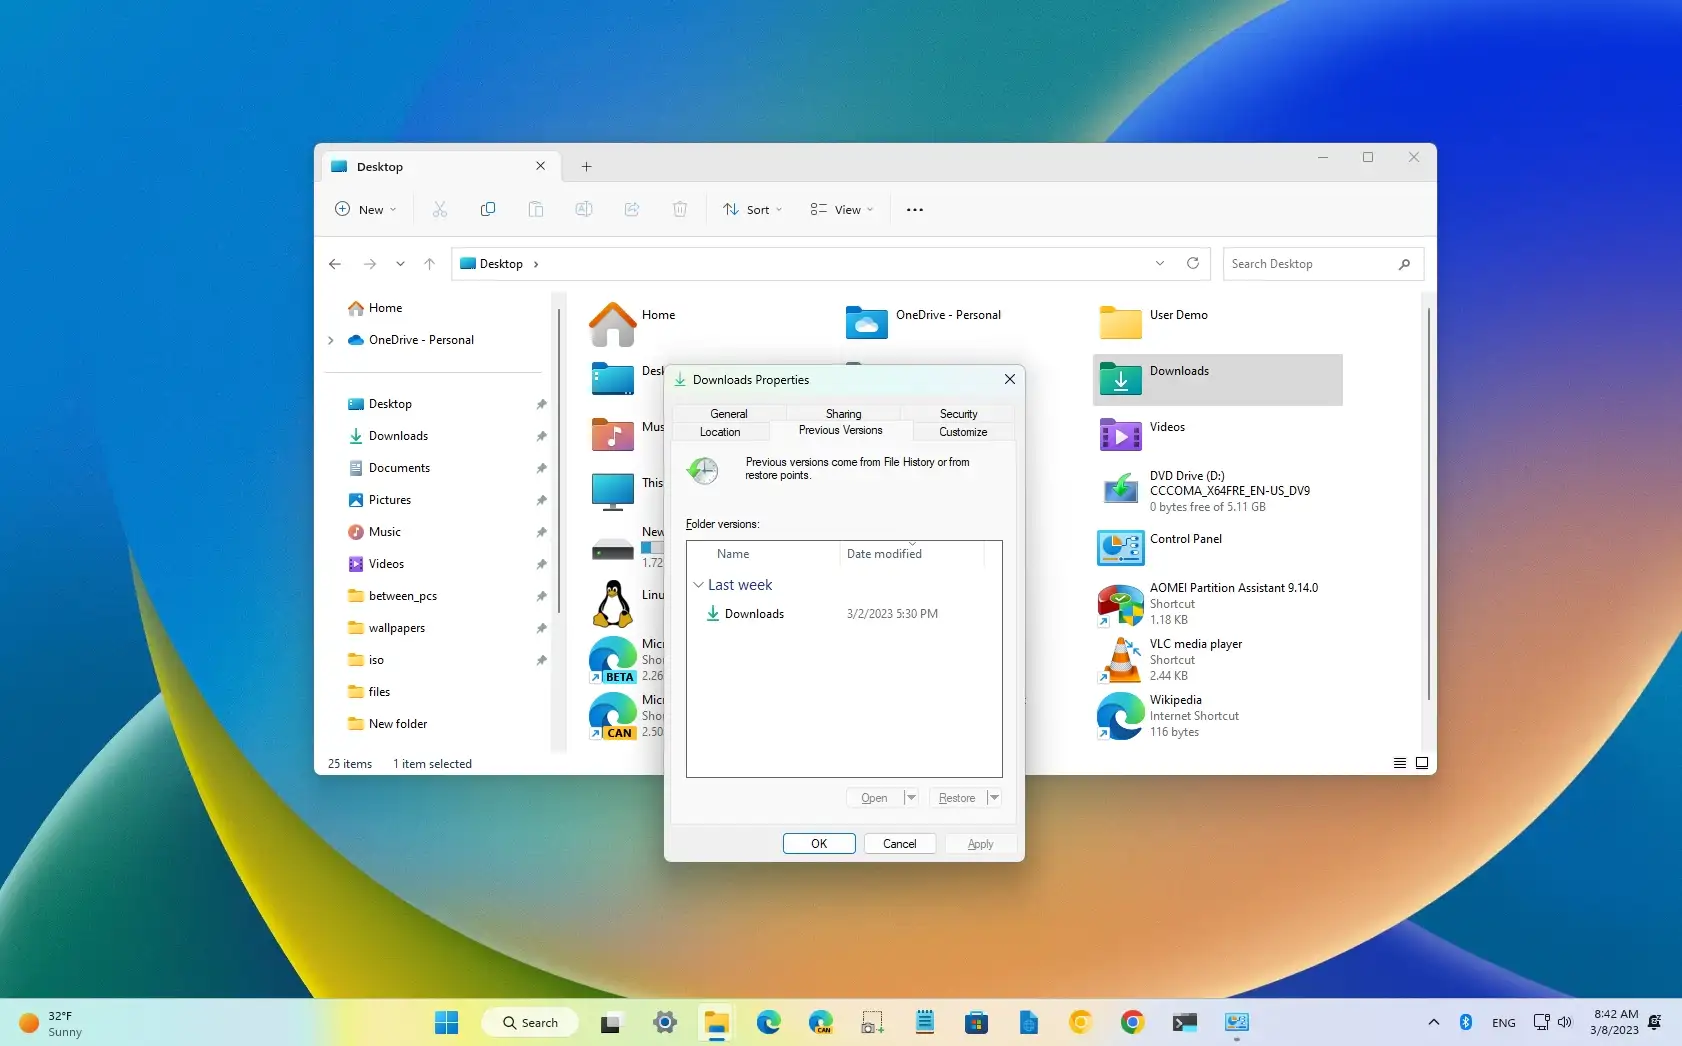
Select the tab for Previous Versions.
Click the arrow button next to the Restore button after choosing the file version to recover from the File versions section.
Choose the option to restore to.
To restore the file (or folder), choose the location.
To recover the files, click the Select folder option.
Following the procedures, Windows 11 will restore the file to the designated place.