-
To add a password to a PDF document, open
Word
>
File
>
Export
, select
Create PDF/XPS Document,
and click
Create PDF/XPS,
click
Options,
check
Encrypt the document with a password,
click
OK,
create a password for the PDF, and click
Publish.
You can use Microsoft Word to password-protect a PDF document without the need for third-party software like Adobe Acrobat, regardless of whether you’re using Windows 11 or 10.
The ability to export a document as a PDF file with the option to encrypt it using a strong 128-bit Advanced Encryption Standard (AES) password is a feature of Microsoft Office applications including Word, PowerPoint, Excel, and Access. This should be more than adequate to keep content safe.
This feature allows you to export Word documents as PDFs with the same level of security or apply a password to already-existing PDF documents.
This post will teach you how to use Microsoft Word to password-protect a PDF file.
Create password for PDF file with Microsoft Word
Use these procedures in Word to add a password to a PDF document:
OpenWord.
Select the Open option after clicking on File.
To encrypt the PDF file with a password, open it.
Select the Export option after clicking on File.
Choose the option to create a PDF or XPS document.
Click the button labeled “Create PDF/XPS.”

On the Options button, click.

Select the “Encrypt the document with a password” option under the “PDF Options” section.

Press the “OK” button.
Make sure the PDF document has a password.

Press the “OK” button.
Press the “Publish” button.
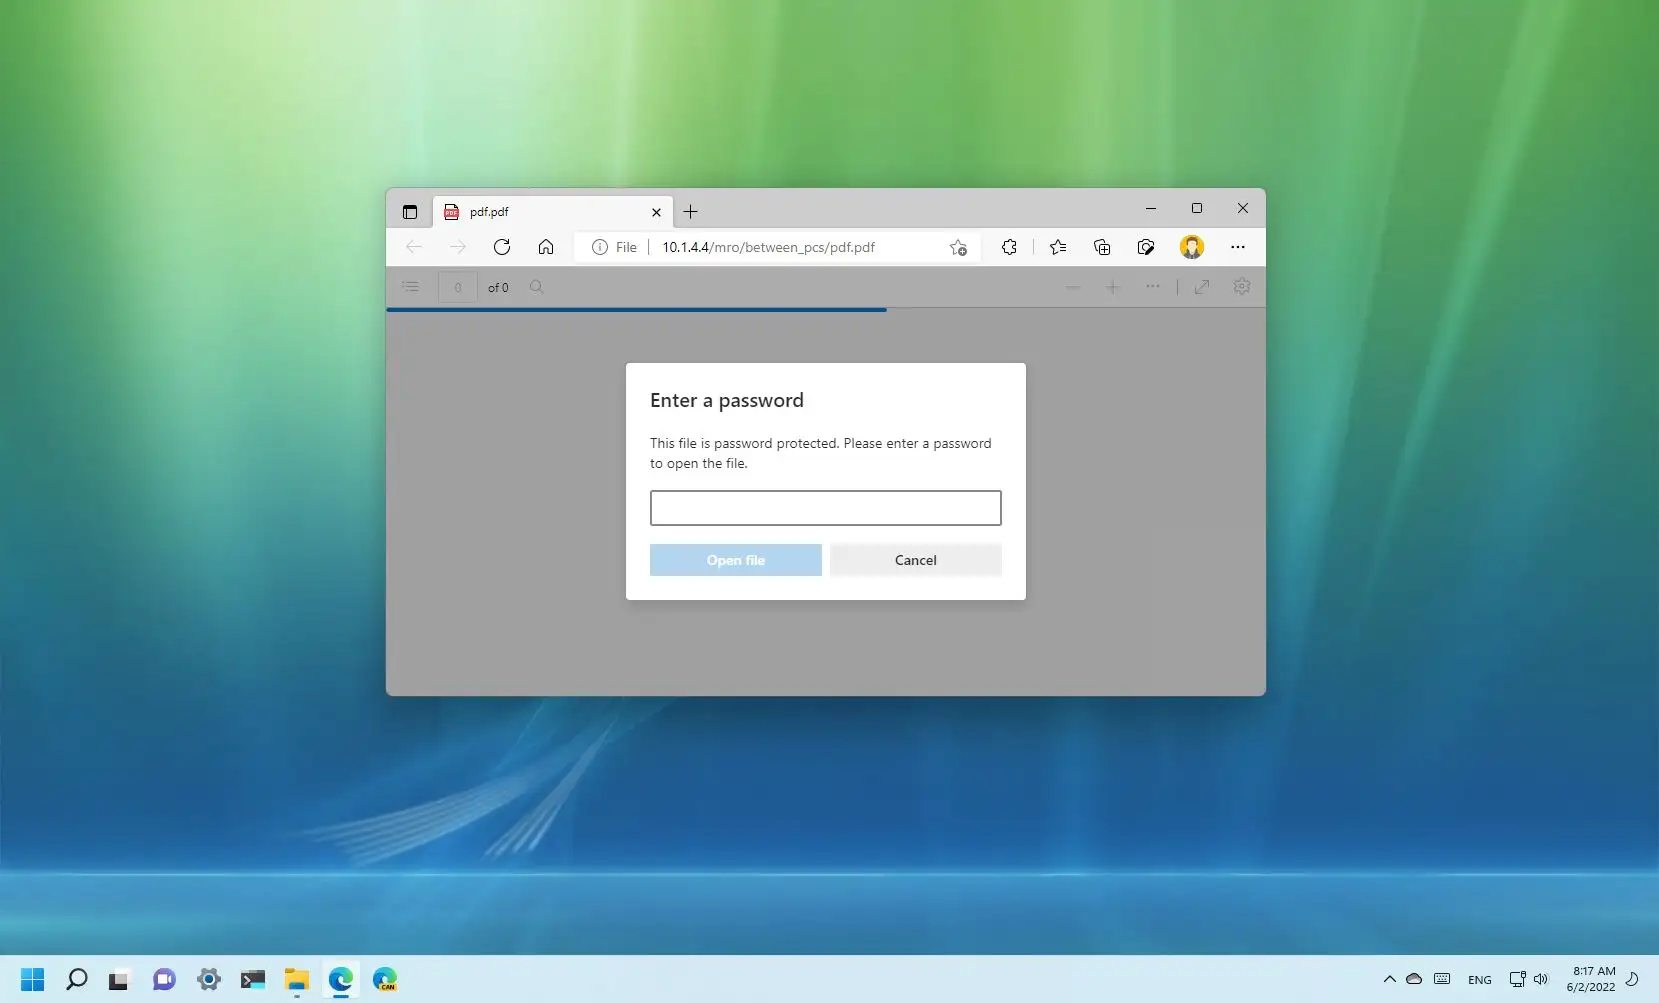
After completing the instructions, a password will be needed to access the PDF viewer application and enable readable content when the PDF document is opened.
You may apply the procedures to safeguard Excel, PowerPoint, and Access documents, even if this post solely demonstrates the Word method.