In Windows 11, when a new input or output device is connected, the system gives it a generic name. When you have a single microphone or a pair of speakers, this is usually not an issue, but when you have several devices, it can occasionally become perplexing.
Using the Settings app or Taskbar Quick Settings flyout, you may rename any audio devices (such speakers, headphones, and microphones) that are attached to your computer so that they are easier to recognize when you need to switch inputs or outputs.
This tutorial will show you how to give Windows 11 sound devices a more recognizable name.
-
Change speakers name on Windows 11
-
Change microphone name on Windows 11
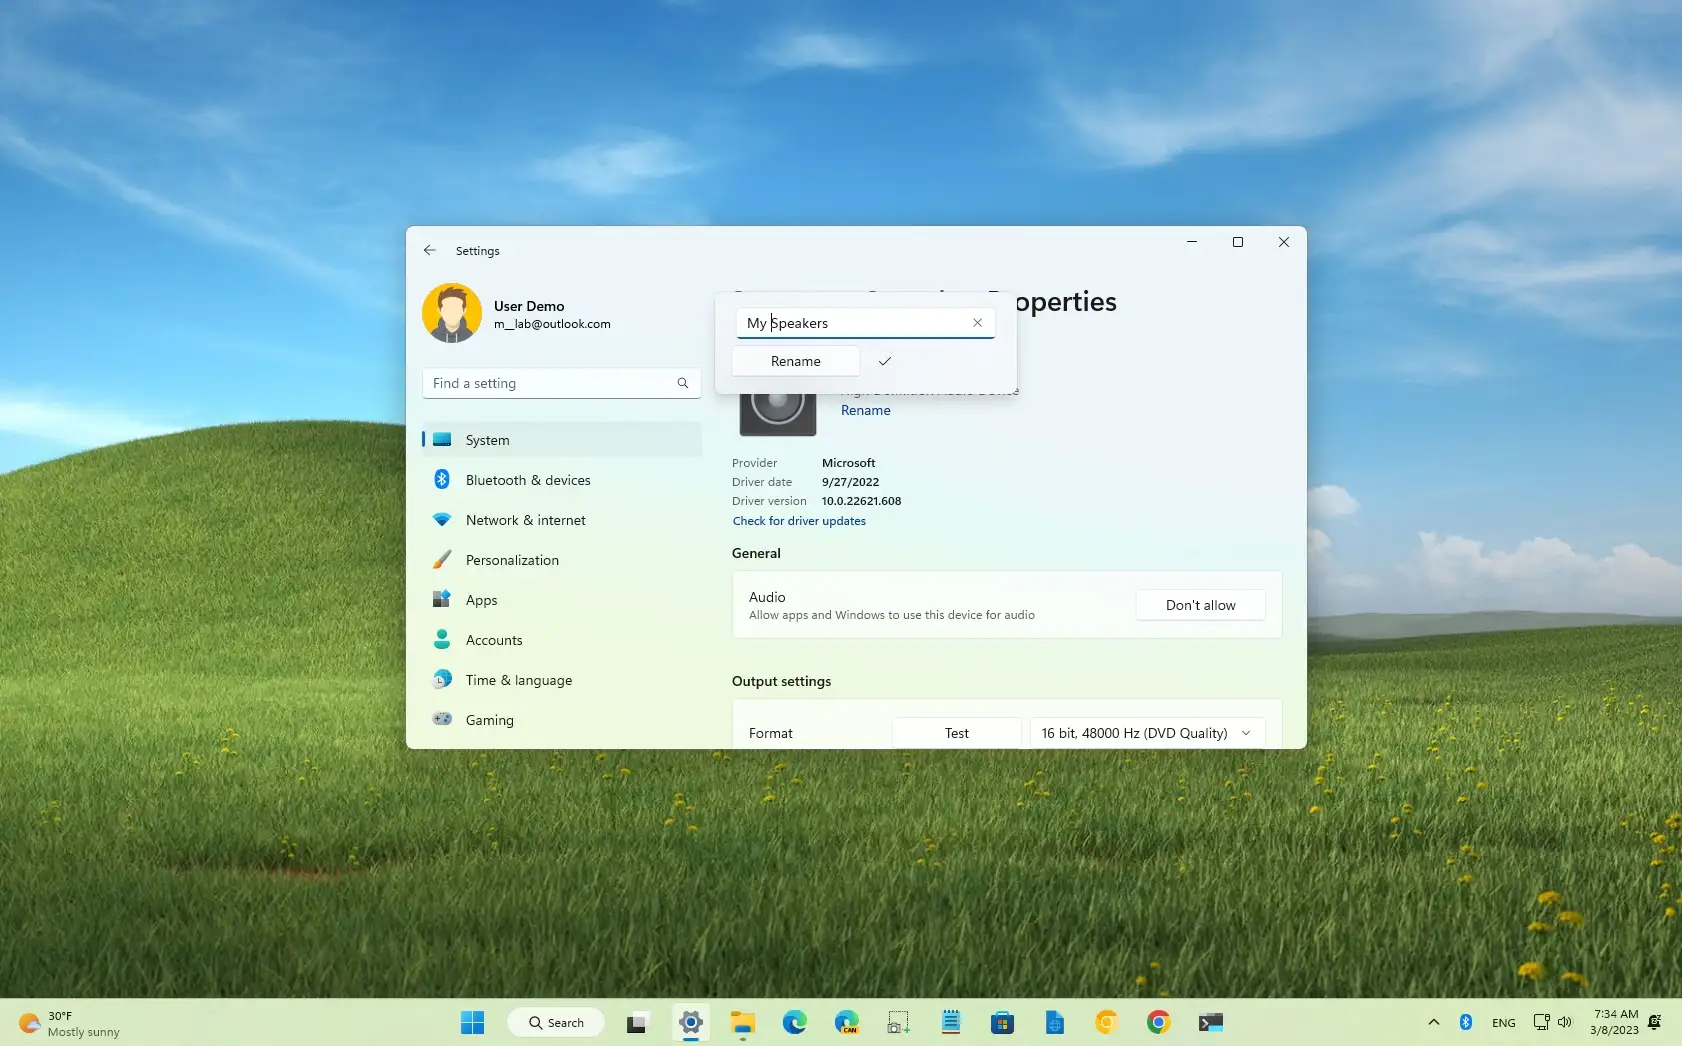
Change speakers name on Windows 11
In Windows 11, follow these procedures to rename sound devices (such speakers and headphones):
OpenSettings on Windows 11.
Select “System.”
Select the Sound tab.
Choose the speakers (or headphones) to rename under the Output section.

To rename, click the button.
Verify the audio device’s brief, evocative name.

To rename, click the button.
The new name will take effect when you finish the instructions, making it simpler to recognize when switching outputs from the Taskbar.
Change microphone name on Windows 11
Follow these procedures to rename a microphone in Windows 11:
Open the settings.
Select “System.”
Select the Sound tab.
Choose the microphone to rename under the Input section.

To rename, click the button.
Verify a brief yet evocative name for the microphone.

To rename, click the button.
The device will display the new name once you’ve finished the instructions.
To rename additional Windows 11 sound devices, you might have to follow the same procedures twice.