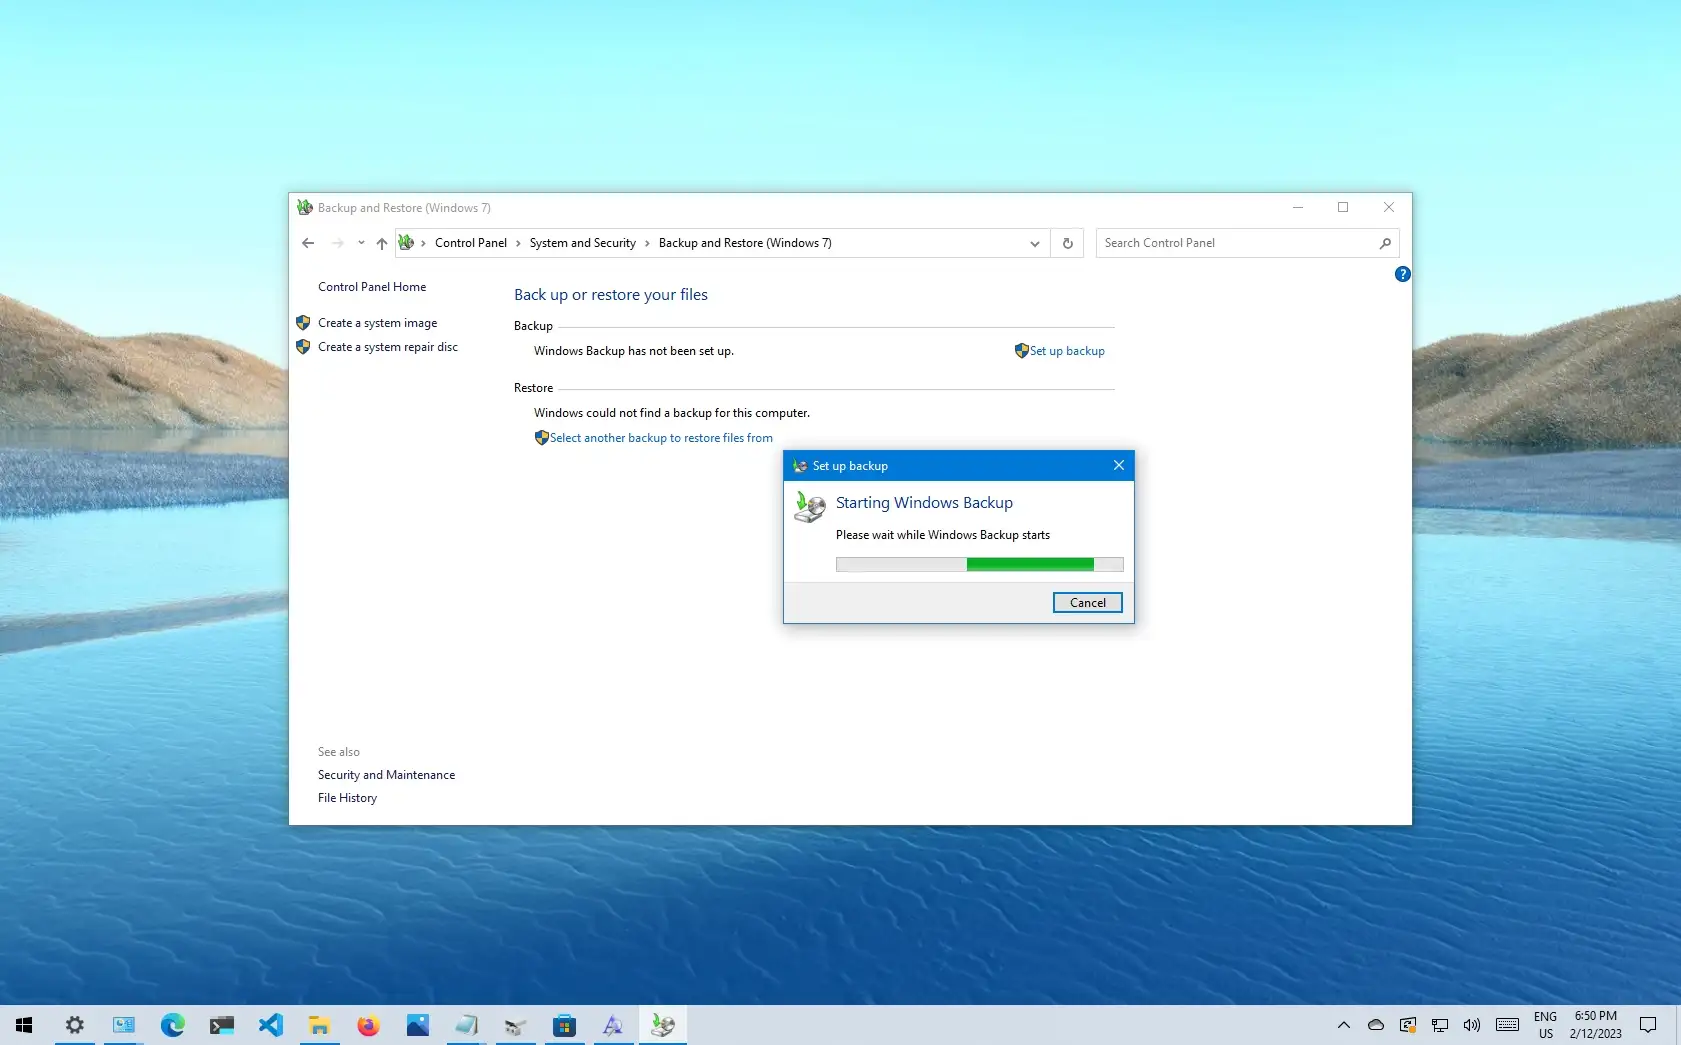
Full and differential backups of files or the complete system can be created and restored using the long-standing Windows Backup (Backup and Restore) heritage program in Windows 10.
Many users still use the program to backup files or create entire backups in case a rollback is required following an update or hardware breakdown, even though it is no longer maintained on Windows 10.
The only drawback is that there is no way to disable or return the Windows Backup tool’s settings to their original settings in the event that it malfunctions or you decide you no longer want to use it. Nevertheless, you can use a few commands to reset or disable the feature.
This post will teach you how to return Windows 10’s backup feature settings to their original settings.
Reset Windows Backup settings on Windows 10
Use these procedures to return the Windows Backup settings to their initial configuration:
Launch Windows 10.
Look up “Command Prompt,” then right-click on the first result and choose “Run as administrator.”
To remove the Windows Backup registry item, type the following command and hit Enter:

To recreate the WindowsBackp entry, type the following command and hit Enter:
To remove the automatic backup scheduled task, use the following command and hit Enter:
To remove the backup monitor scheduled task, use the following command and hit Enter:
Following completion of the processes, the backup or restore your files page will return to its initial configuration, wiping out any prior settings and enabling you to either disable the feature or set up a new schedule.
Only the settings are reset by this approach. Previous backups created using the utility won’t be erased. You will need to manually remove backups from the source drive if needed after resetting the Backup and Restore (Windows 7) settings.