-
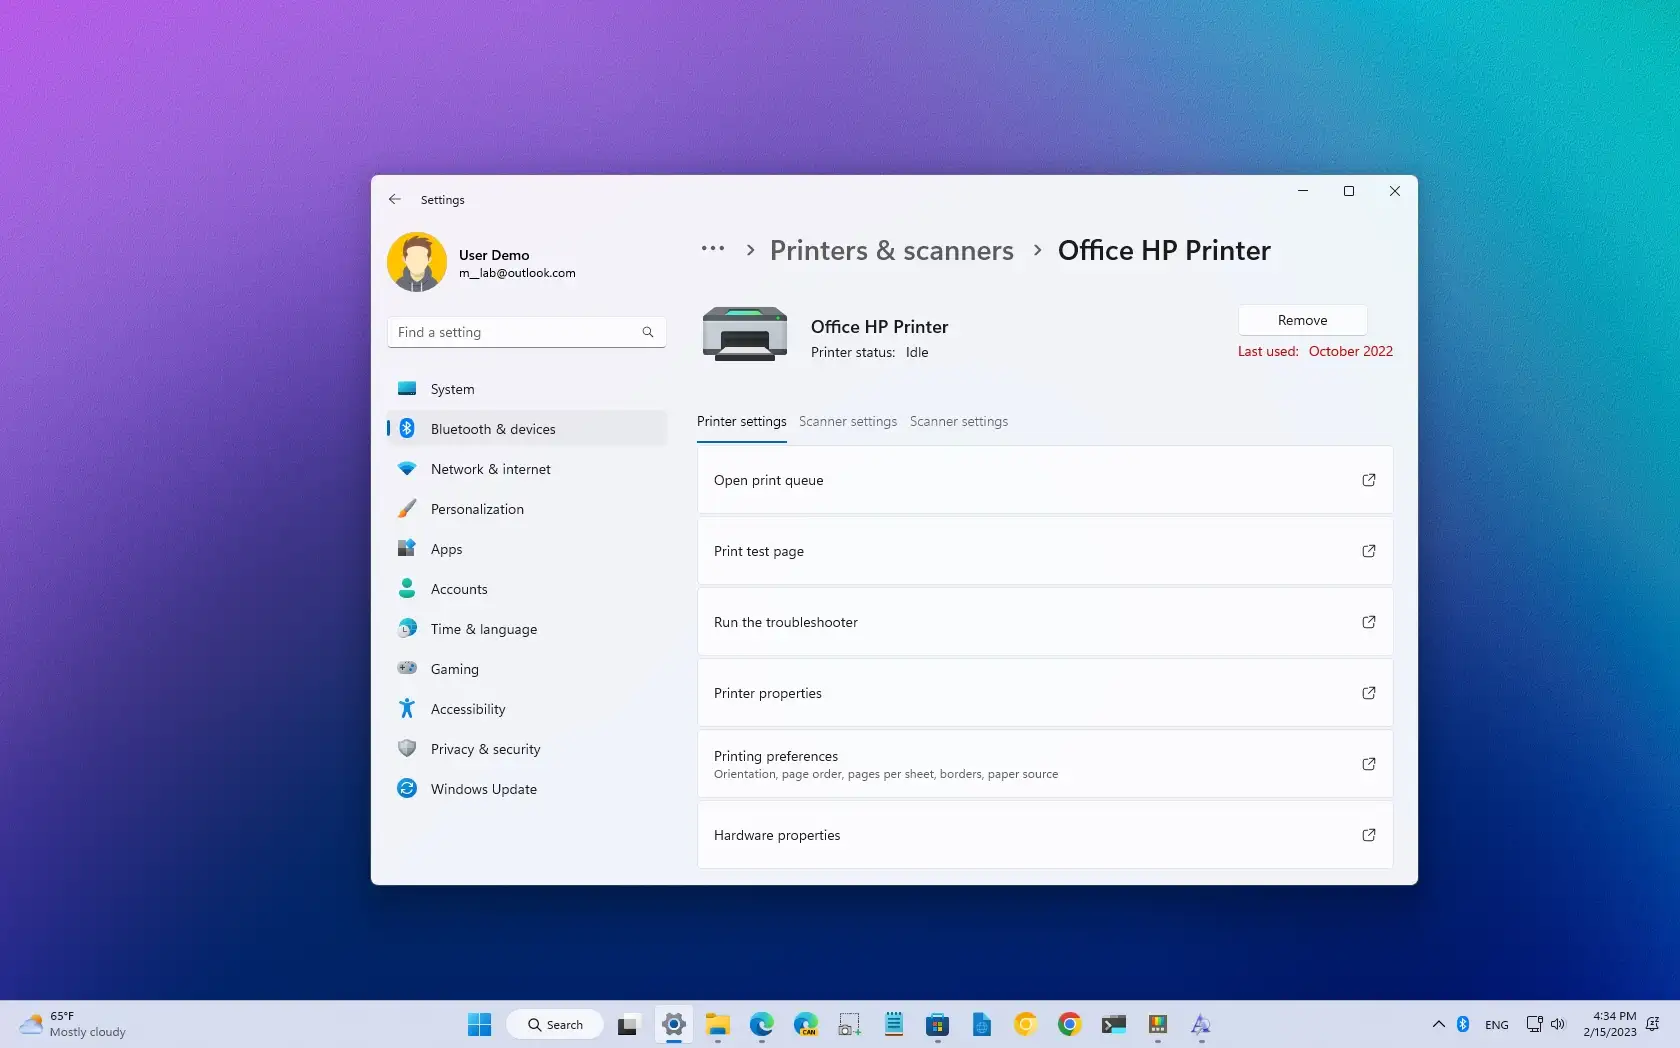
To choose a default printer on Windows 11, open
Settings
>
Bluetooth & devices
>
Printers & scanners,
choose the printer, and click the
Set as default
button. -
If the option isn t available, turn off the
Let Windows manage my default printer
toggle switch on Printers & scanners and then choose the printer and click the
Set as default
button.
When you install multiple printers on Windows 11, the system will use the Let Windows manage my default printer function to set the most current device as the default.
While many users may find this to be a useful feature, it will constantly switch the default printer, increasing the likelihood that the print job may be sent to the incorrect device. Additionally, if you attempt to modify the settings, you will discover that the Settings app does not have the option to designate a printer as one of the defaults. However, Windows 11 allows you to override this behavior if you need to manually change the default printer. To enable the Set as default option, simply turn off the feature that manages your printers.
This tutorial will show you how to select the Windows 11 default printer.
-
Set default printer on Windows 11
-
Set default printer on Windows 11 from Command Prompt
Set default printer on Windows 11
Follow these procedures to modify Windows 11’s default printer:
OpenSettings on Windows 11.
Click on Devices & Bluetooth.
Press the “Printers & scannerstab” button.

To allow the option to select a default printer, disable the Let Windows control my default printertoggle switch under the Printer options section. (If not, you won’t be able to make a printer the default.)

To set the printer as the new system default, select it.
To modify Windows 11’s default printer, click the “Set as default” button.

The chosen printer will become the new Windows 11 default after you finish the procedures.
Set default printer on Windows 11 from Command Prompt
Follow these instructions to modify the Windows 11 Command Prompt’s default printer:
LaunchStart.
Look up “Command Prompt,” then right-click on the first result and choose “Run as administrator.”
(Selective) To turn off the “Let Windows manage my default printer” function, use the following command and hit Enter:
(Selective) To find the printer’s name, type the following command and hit Enter:
To modify Windows 11’s default printer, use the following command and hit Enter:
ChangePRINTER-NAME in the command to the name of your printer (see to step 4). The Office HP Printer, for instance, was made the system default by this command:

Once the procedures are finished, the command will configure Windows 11’s new default printer.