This post will teach you how to uninstall OneDrive on Windows 10. Even though OneDrive comes pre-installed on all systems, occasionally you might need to reinstall the client since it isn’t functioning properly. Or, since you don’t use it, you could have to take it out.
For some reason, there are at least two methods to uninstall the OneDrive program from the Control Panel and Settings app on Windows 10.
You can follow these instructions to fully delete the OneDrive app on Windows 10.
Uninstall OneDrive from Windows 10
OneDrive may be uninstalled from Windows 10 via the Control Panel or the Settings app. It’s crucial to remember that using the Settings app to fully uninstall the desktop application can require several attempts.
Settings app
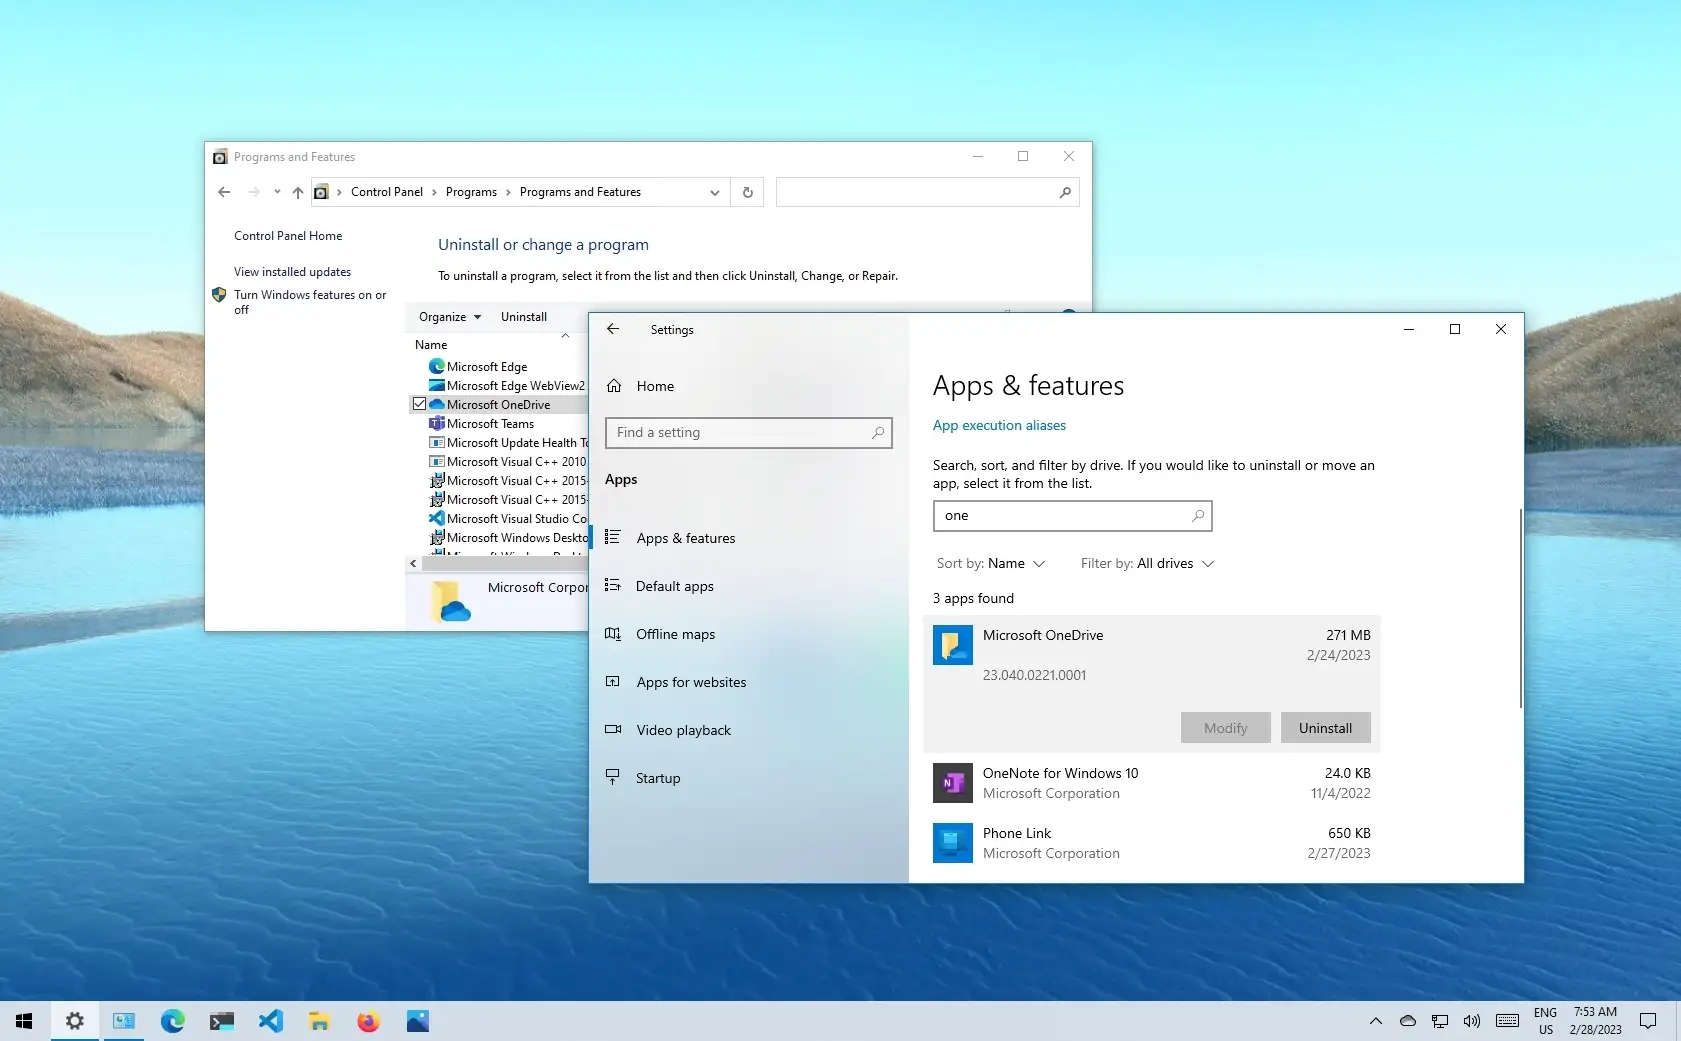
Follow these instructions to remove the OneDrive app from Windows 10’s Settings app:
Windows 10’s OpenSettings.
Select “Apps.”
On Apps & Features, click.
Choose “Microsoft OneDrive” and press “Uninstall.”

Click “Uninstall” once more.
The application will be deleted from your computer after you finish the procedures.
Control Panel
Follow these instructions to uninstall the OneDrive application from the Control Panel:
Launch the Control Panel.
To uninstall a software, select it from the Category view.
After choosing OneDrive, click the “Uninstall” button.

Press the “Yes” button.
The files you choose to be available offline will remain accessible even after OneDrive is deleted from Windows 10 after you finish the procedures.
You can still access your previously synced files by seeing the OneDrive entry in File Explorer after this process.
You will need to download and execute the OneDrive installer once more if you wish to reinstall OneDrive on Windows 10.