The easiest and safest method to upgrade for free to
Windows 11 22H2
from Windows 10 is using the “Windows Update” settings. The reason is that through “Windows Update” settings, you will receive a notification letting you whether or not version 22H2 is compatible with your computer, and you can continue with the installation with a few clicks knowing that all your files, most settings, and applications will migrate automatically to the new version.
The experience is similar to installing a cumulative update, but with the difference that this process will take longer to complete (about an hour) because of the download size (around 4 to 5GB) and because the process will perform a complete installation.
Although upgrading through Windows Update is a non-destructive process, it’s still recommended to
create a temporary full backup
before proceeding in case something goes wrong and you need to roll back or recover some files.
This
guide
will teach you the easy steps to upgrade a
Windows 10
computer to Windows 11 from the Windows Update settings.
Upgrade to Windows 11 from Windows Update
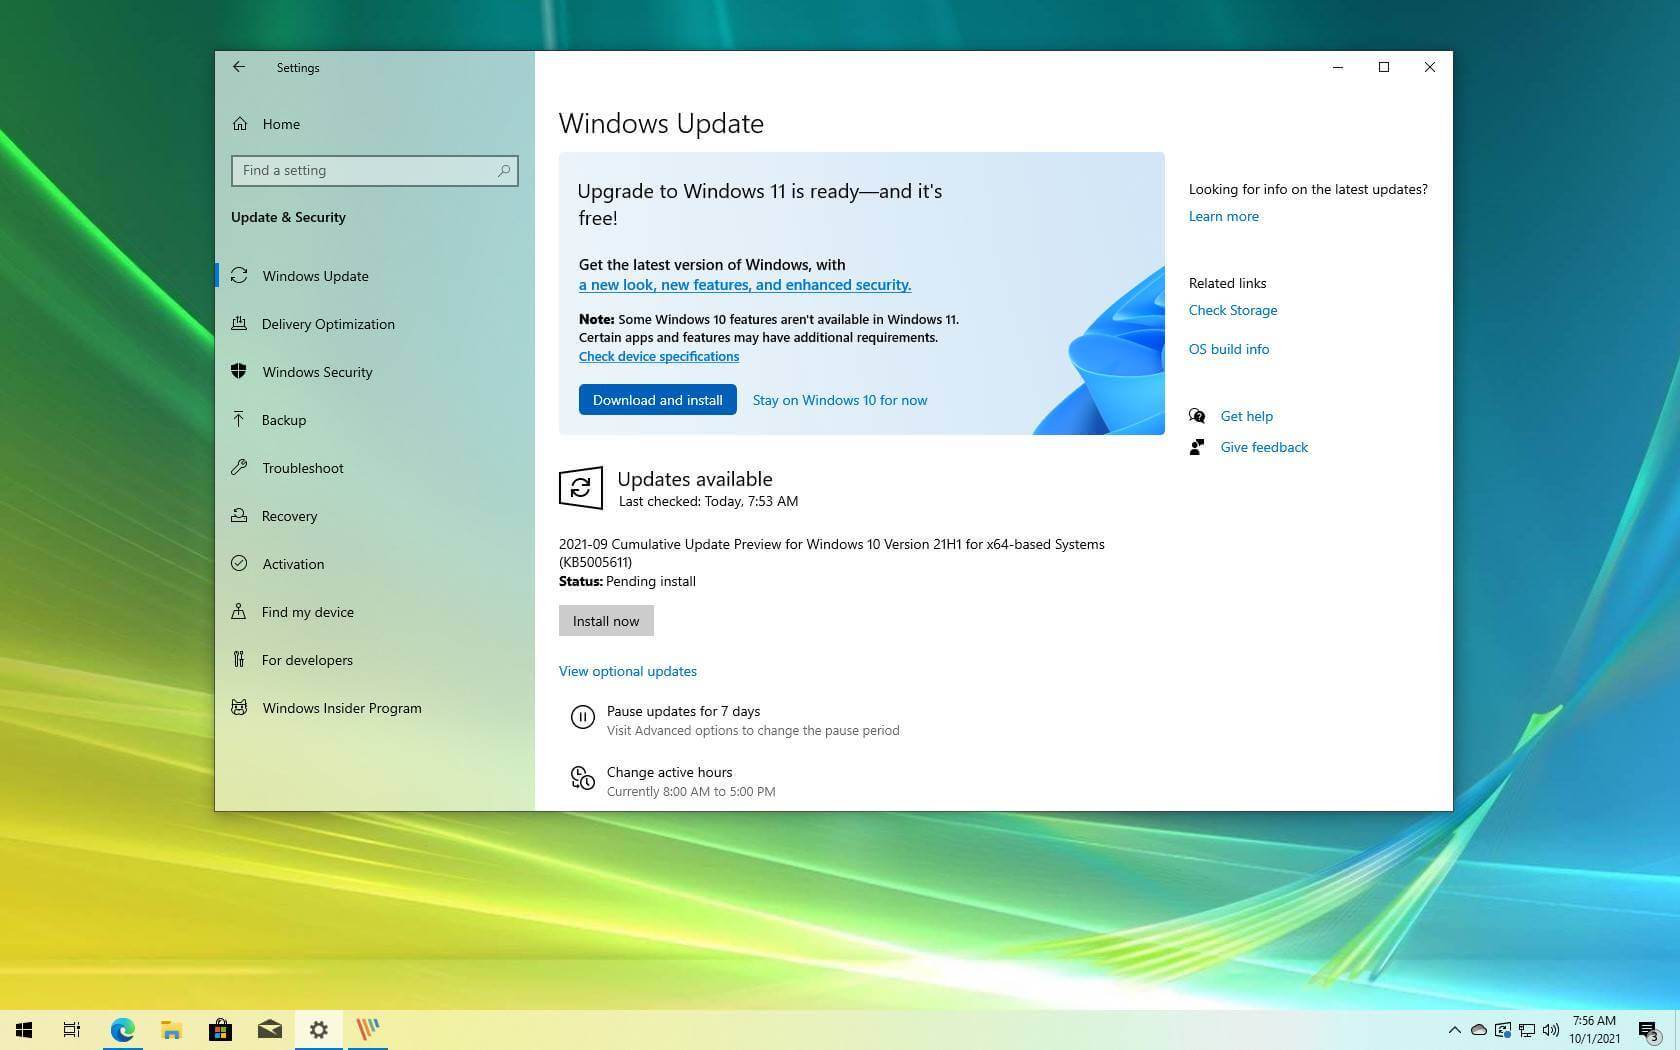
To upgrade to Windows 11 22H2 from 10 via the Windows Update settings, use these steps:
Open
Settings
.
Click on
Update & Security
.
Click on
Windows Update
.
Click the
Check for updates
button.

Click the
“Download and install”
button.

Click the
Restart now
button.
Once you complete the steps, Windows 11 will proceed to install automatically. (See also
this video tutorial
with the steps to upgrade using Windows Update.)
If you don’t see the notification, it is likely because Windows 11 is not fully compatible with your hardware and software configuration. In this case, it’s not recommended to proceed with the upgrade using other methods, such as the
Installation Assistant
or ISO file, because you may come across errors and problems.